
Building a ferris sweep
Building a 34-key ortholinear split keyboard.2026-01-13
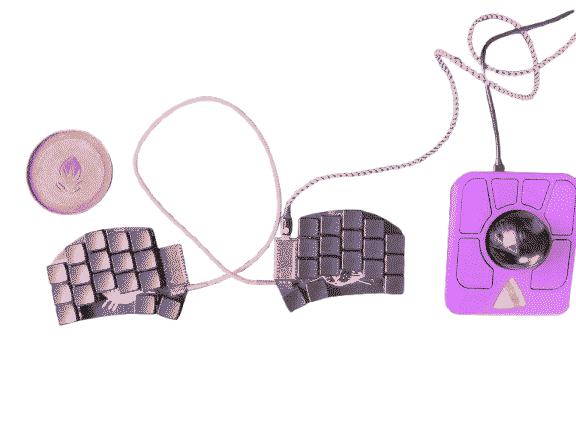
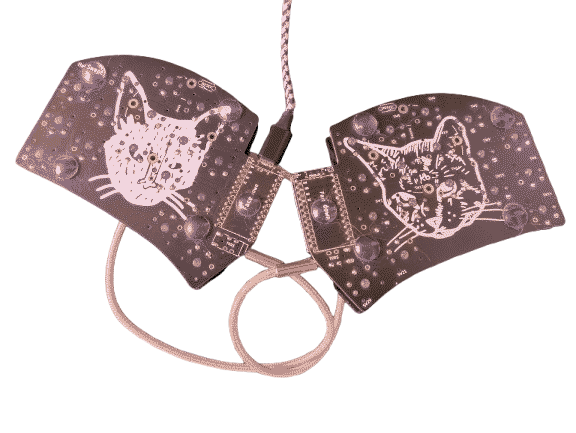
This is something I forgot to write about. A while ago I made a ferris sweep. Originally designed by Pierre Chevalier, the ferris is a 34-key ortholinear split keyboard. The sweep variant uses a daughter board like a pro micro instead of onboard components.
Building
Building the ferris sweep was very straight forward. I downloaded the gerber files and replaced the silkscreen art by following a tutorial online. I then got the PCBs manufactured, and ordered the rest of the parts. I went with kailh choc silver switches, and low profile black keycaps. Since the ferris sweep only has 34 keys, we don't need diodes to wire in a matrix: all keys can be connected to their own pin on the microcontroller.
Layout
Now comes the hard part: deciding on a layout. Back then I was used to an azerty keyboard, but had to move to qwerty for work. I thought this was already enough of a layout change. I can always learn something like colemak or dvorak later. The challenge was rather moving from full-sized or tkl (ten keys less) keyboards to 34 keys. I really like the typing feel on it. Since the keys are ortholinear and choc-spaced, they are all easy to access without to much hand movement. My first step was thus to learn to type on this thing. I am by no means a good or fast typer, so that also meant learning touch-typing, since I got keycaps without legends. While I got better at it, I started to have to think more and more about tweaking the layout.
Getting a bit stuck
I had started with only the base layer with alphanumeric keys to learn how to type on this thing. I then slowly added symbols as I needed them. The default keymap uses layer-tapping, meaning that a key can send one key when tapped and toggle a layer when pressed. I found that I would make a lot of mistakes and it felt like there was a bit of a delay, which I found uncomfortable. This can be alleviated by adjusting the tap hold configuration when compiling the firmware, but I did not have access to this option because I was using the online QMK configurator. I then changed it so that the external thumb keys would toggle new layers(*TG()). So that means I would need to tap a key to toggle the symbol layer, for example, remember where that symbol is, and then tap the key again to go back to the default layer. I found it confusing and hard to remember where things where. This is pretty much were I stayed at for a bit: the keyboard was usable to practice touch typing, but that's about it.
Unstuck
One important aspect to get unstuck is to dive into writing your own keymap.c and compile it in the QMK environment. This means I now have access to more customisation and option than by using the online tool.
I am happy to report that this keyboard is now an absolute joy to type on. One other positive aspect is that I went straight for what looked the coolest to me. I feel a bit like I bypassed the whole mech keyboard GAS by going straight to this variant.
TODO: more about current layout and tweaks in the qmk firmware for homerow mods.